We have several kimchi recipes are all authentically Korean and simple to create at home. With the correct kimchi materials and step-by-step directions, each kimchi recipe will show you how to produce healthy homemade Kimchi.
Did you know that in Korea, there are over 100 different types of Kimchi? From the world-famous cabbage kimchi to not spicy water kimchi, there is one Kimchi that you simply cannot live without.
Kimchi is a mainstay of Korean cuisine. Here are some of the most popular Korean kimchi recipes.
Each kimchi recipe includes kimchi ingredient information as well as simple step-by-step directions. Find out about the health benefits of each Kimchi and how to properly ferment it. Make your own at home. They are all simple to manufacture.
BEGINNERS’ EASY KIMCHI RECIPE
This kimchi recipe is for those who are new to making traditional Korean Kimchi. With this cabbage kimchi recipe, you can reap the health benefits of homemade Kimchi. This recipe makes 6 cups (50 oz).
Tools You Need
- A large mixing dish will be required to soak the cabbage in salt. You could even make do with your kitchen sink.
- Large colander: This is used to filter the excess water from the cabbage after rinsing it.
- Rubber gloves for the kitchen: When mixing, food-prep rubber kimchi gloves protect your hands from the intense red chile kimchi paste.
- Jar(s) of storage: I recommend utilizing sealed glass food storage jar(s). They should be large enough to allow for room at the top, or two smaller jars can be used.
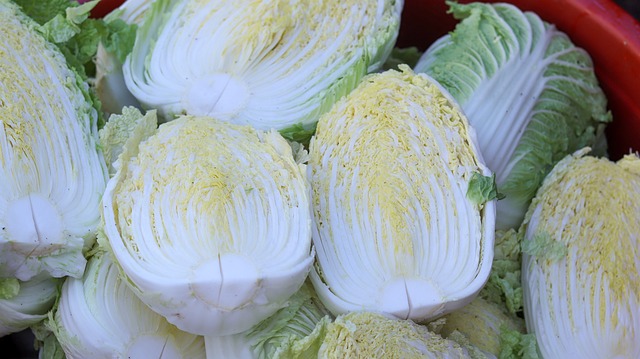
NAPA CABBAGE KIMCHI
Here are the steps for cutting napa cabbage.
- Pick up some cabbage and some sea salt.
- Make a 3-inch slit across the cabbage’s white stem.
- Using your hand, pry the cabbage open from the white stem end. It should be simple to open.
- Make more slits on the stem of each cabbage half and reopen. You are quartering the cabbage the traditional Korean way. To moisten the cabbage quarters, rinse them once.
- Largely dice the cabbage quarters. To prepare the huge outer leaves, cut them in half lengthwise, then dice them into chunks.
- Place a small layer of cabbage chunks in a large mixing bowl and sprinkle with about 2-3 teaspoons of coarse sea salt. Repeat the process numerous times to make layers of cabbage and salt.
SEA SALT BRINE
- Salting the cabbage is a key step, and this simple brine process is ideal for preparing cut cabbage kimchi.
- Allow the cabbage to soak for 2 hours, turning it upside down a few times during that time.
- If the white stem part of the cabbage bends with slight pressure, the brine process is complete.
- Rinse the cabbage in water three times. In a colander, drain the cabbage, gently pressing down to remove excess water.
PUREE OF FRUIT AND VEGETABLES
Before making the kimchi paste, purée the savory components and sweet fruits in a blender.
- In a blender, combine onion, garlic, ginger, apple (or pear), sugar, Korean anchovy sauce, salted shrimp, and cooked rice (or other starch of choice).
- Allow the blade to combine the materials by adding sea kelp stock (or water). You don’t need to add stock if you’re using fruit nectar. Everything should be blended until smooth.
Making Sea Kelp Stock: 2 cups water and a piece of dried sea kelp (dashima) simmer for 5 minutes in a pot over low heat. Remove the sea kelp and set aside to cool.
This post contains referral links for products we love. Staying Fit With Aeran earns a small commission on these links at no cost to you, and the links will always be marked with an asterisk *.
MAKE THE KIMCHI PASTE AND MIX IT.
When creating kimchi paste, use high-quality Korean chili flakes (gochugaru) *. You want your Kimchi to be a brilliant and vibrant red.
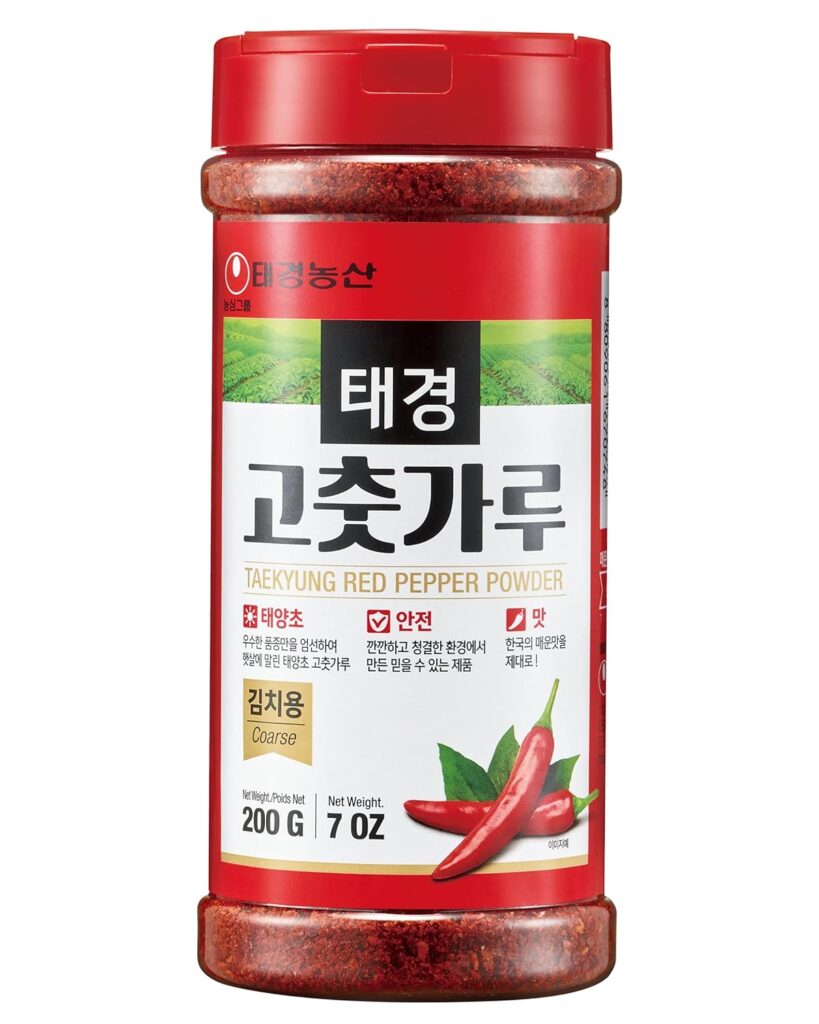
- In a large bowl, combine the fruit and vegetable puree. Mix with the Korean chili flakes. Adjust the spice of the kimchi paste to your satisfaction. Let the paste to sit for about 5 minutes for chili flakes to rehydrate.
- In a mixing bowl, combine the drained cabbage. To the cabbage, add the leek (or green onion), fresh chile (if using), and kimchi paste.
- Mix thoroughly to coat the cabbage with the seasoning paste. (Wear kitchen rubber gloves to keep your hands from being soiled or odorous.)
Try your Kimchi. Don’t be concerned if it tastes saltier than you expected! Freshly prepared Kimchi is typically saltier, but the saltiness will diminish as it ferments.
TIPS FOR FERMENTATION AND STORAGE
Place the Kimchi in an airtight glass food storage jar (or jars). Allow it to sit at room temperature for 1 day (or up to 2 days, depending on the temperature). When you notice gas foaming and air bubbles, place it in the refrigerator for 4-5 days before serving.
Unlike the traditional recipe, this simple Mak-kimchi is not meant to be stored for an extended period of time. However, it will keep in the fridge for up to 2 months. After that, it will ferment and become quite sour and potent.
TRADITIONAL CUCUMBER KIMCHI RECIPE (OI-SOBAGI)
Korean cucumber kimchi (oi-sobagi) is a must-have summer side dish. This classic cucumber kimchi recipe ensures that the Kimchi ferments properly and remains crisp until you’ve finished the entire batch, not to mention how simple it is to prepare at home.
Summer is the great season to experiment with Korean cucumber kimchi, a favorite side dish in Korean cuisine.
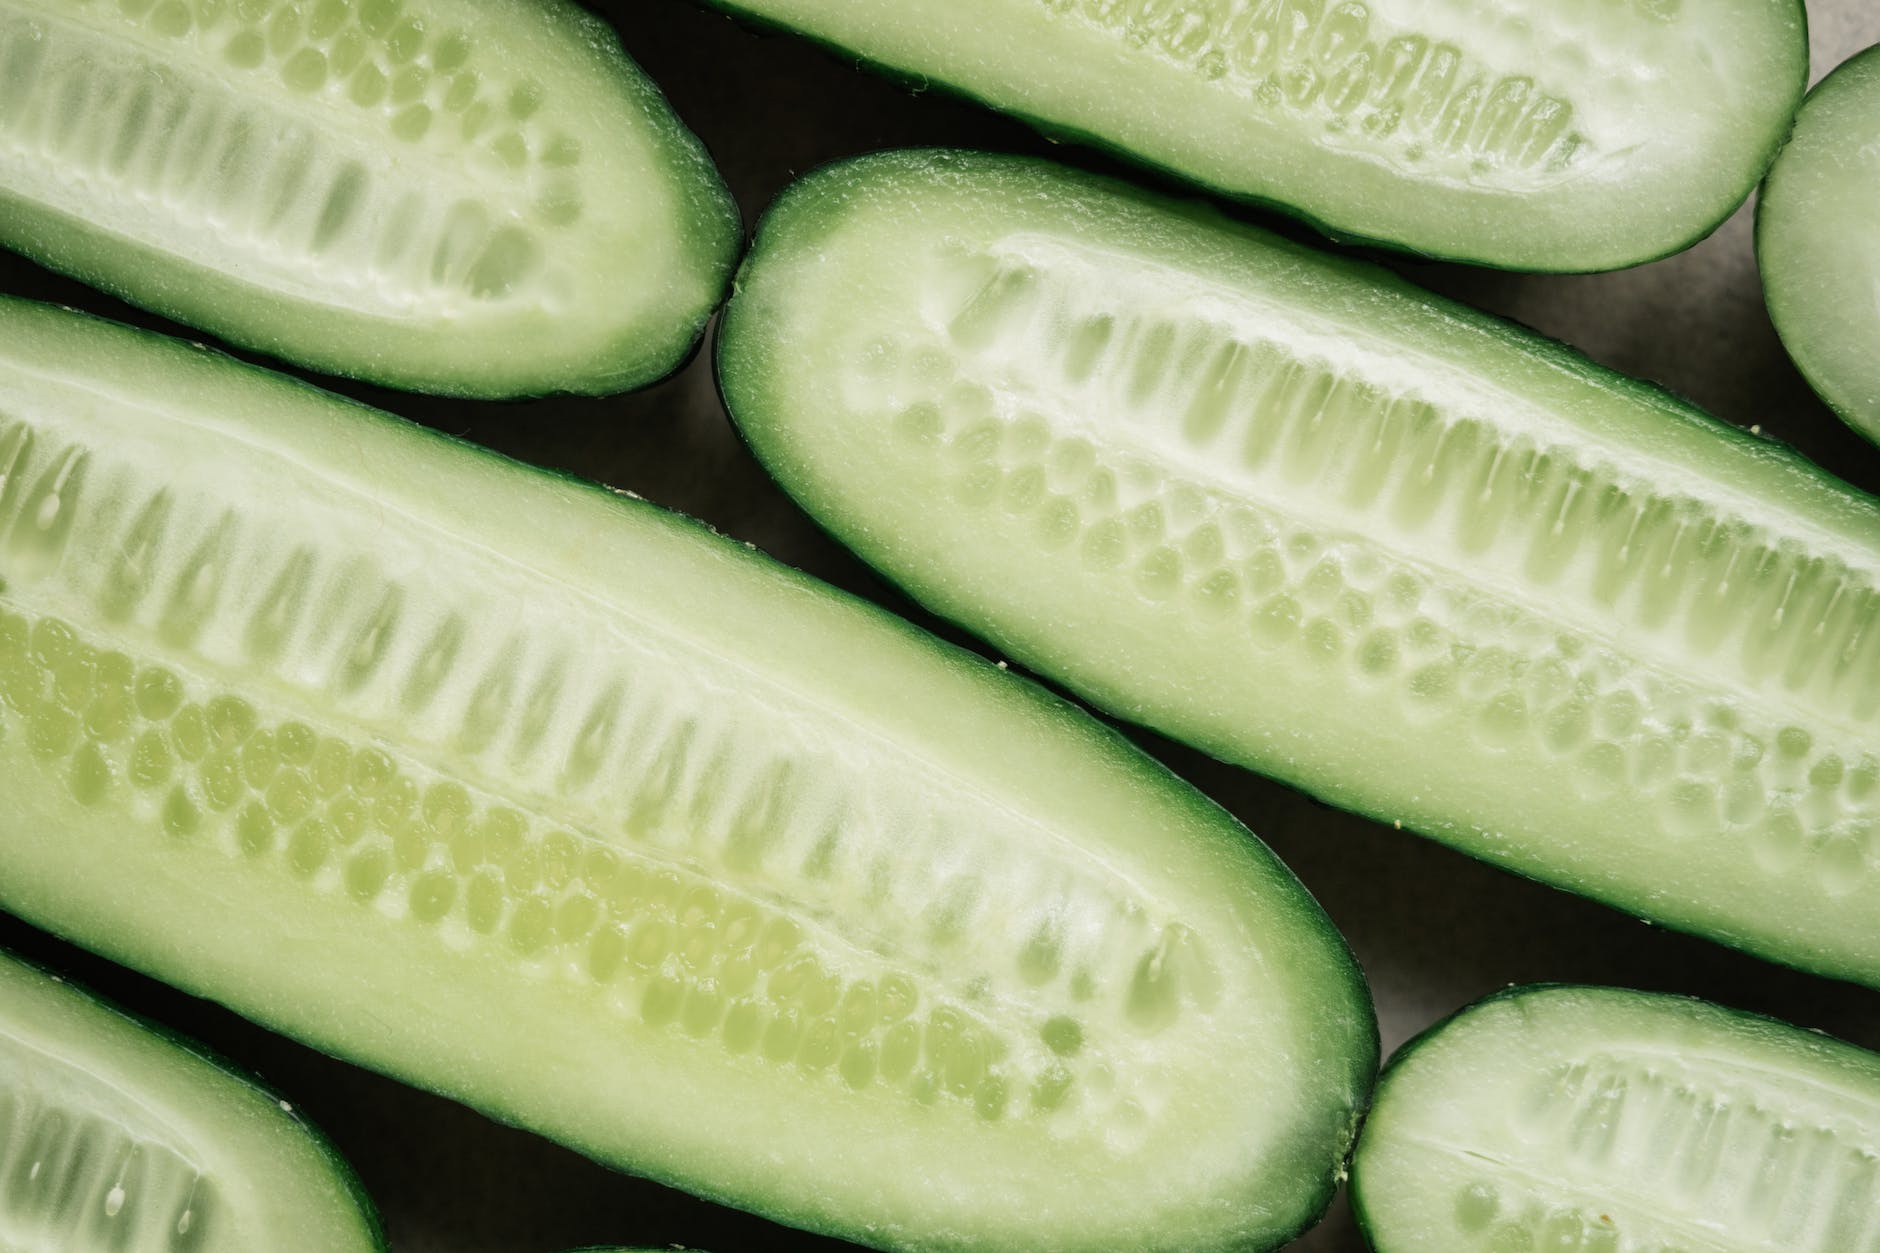
Cucumber kimchi is classified into two types: packed cucumber kimchi, also known as “Oi-sobagi,” and cut-up cucumber kimchi, also known as “Oi Kimchi.” Choose the Oi-sobagi if you want something crunchier that will stay crisper for longer.
This traditional cucumber kimchi dish is distinguished from other cucumber kimchi recipes by its outstanding crunchiness. Give it a shot and notice the difference!
KOREAN STUFFED CUCUMBER KIMCHI
Cucumber kimchi recipes are not all created equal. As they ferment, many lose their crisp crispness, resulting in mushy Kimchi. However, even when the Kimchi has fully fermented, this dish retains its crunchiness, allowing you to savor every mouthful until the last serving.
Stuffing cucumbers with Kimchi filling retains the texture and flavor of the cucumber and allows for long fermentation, resulting in better-tasting Kimchi when made the traditional way. It’s similar to spicy cucumber pickles but with a Korean touch.
While cut-up cucumber kimchi is easier to make, it ferments more quickly and can turn mushy. Choose the traditional filled cucumber recipe if you want to enjoy the full-bodied, crisp flavor of authentic Korean cucumber kimchi. It’s simple to produce and yields a great product.
CUCUMBER SALAD VS CUCUMBER KIMCHI
Many individuals confuse cucumber kimchi with Korean cucumber salad (Oi-muchim).
They are not the same and are created in very distinct ways. Korean cucumber salad is a simple side dish that is not meant to ferment.
SELECTING THE RIGHT CUCUMBERS
It’s critical to start with the correct variety of cucumber when making cucumber kimchi. Here are some potential options for preparing stuffed cucumber kimchi:
Cucumbers from Korea: These are tall and slender, pale green in color, and have a particularly crunchy feel. During the spring and summer, they are abundantly accessible in most Korean grocery stores.
Cucumbers from Kirby: Pickling cucumbers are widely utilized and widely available.
They have a delicate peel and are readily available for preparing Kimchi.
I used Kirby cucumbers for this recipe since they are great for making crunchy cucumber pickles.
LIST OF INGREDIENTS
Other than cucumbers, the following components are required:
Filling for Cucumber Kimchi
- Asian chives – You can replace green onion carrot for extra texture and flavor.
- onion, garlic paste, and ginger paste – savory component
- Korean fish sauce or another type of fish sauce – adds umami flavor
- Korean chili flakes (gochugaru) – fiery taste sugar – adds sweetness to Kimchi.
- Optional Korean plum extract adds another dimension of sweetness.
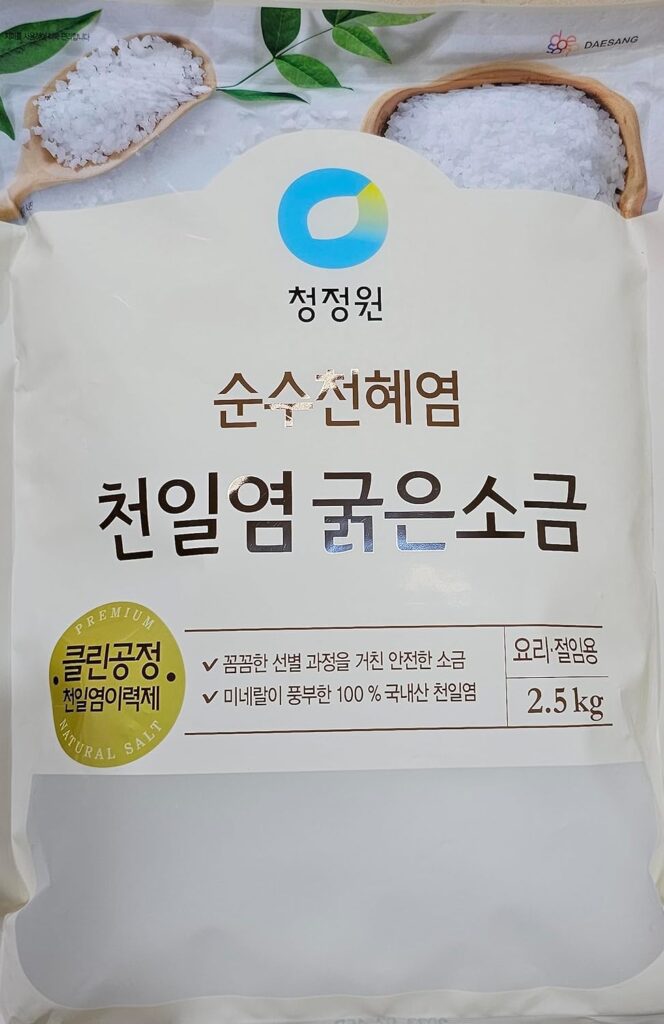
To brine the cucumbers, combine water and salt. Use coarse sea salt * (preferably Korean salt).
INSTRUCTION
- How many cucumbers should I use? It varies by cucumber type: 8-10 for Kirby cucumbers, 5-6 for Korean cucumbers, and 4 for English cucumbers.
- Cut through a cucumber in a cross pattern, but leave one end uncut.
- Bring water and salt to a boil. In a mixing basin, pour the boiling salted water over the cucumbers.
- Place a weight on top of the cucumbers to keep them submerged in the salt brine. Allow them to sit for about 1 hour before draining.
- Cut the Asian chives into 1 1/2-inch pieces.
- In a mixing bowl, combine the Asian chives, carrot, onion, garlic, ginger puree, Korean chili flakes, Korean anchovy sauce, sugar, Korean plum essence (optional), toasted sesame seeds, and water to produce the kimchi filling.
- Fill the cucumber with the kimchi filling, coating the outside of the cucumber as well.
- Cover the packed Kimchi in an airtight container.
TIPS FOR FERMENTATION AND STORAGE
If you like a more natural flavor, your Kimchi is ready to eat right away. Leave the Kimchi to ferment at room temperature for about 1-2 days before storing it in the refrigerator. In the fridge, the Kimchi will continue to ferment slowly.
How long will it continue? Allow your Kimchi to develop at room temperature for 2-3 days until it is fully fermented. Then, place it in the refrigerator and consume it within two months.
BOK CHOY KIMCHI RECIPE
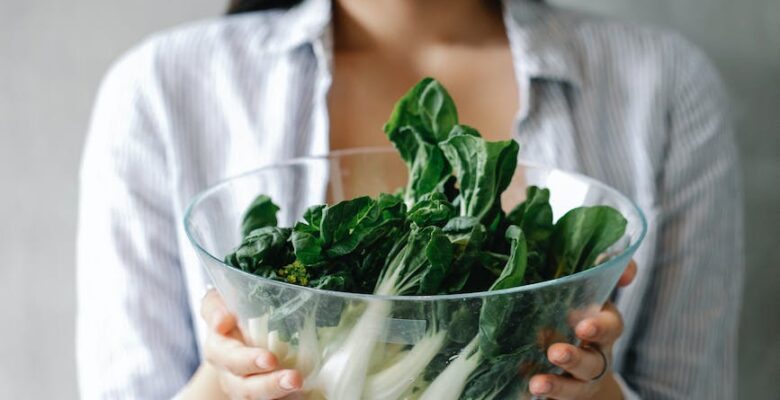
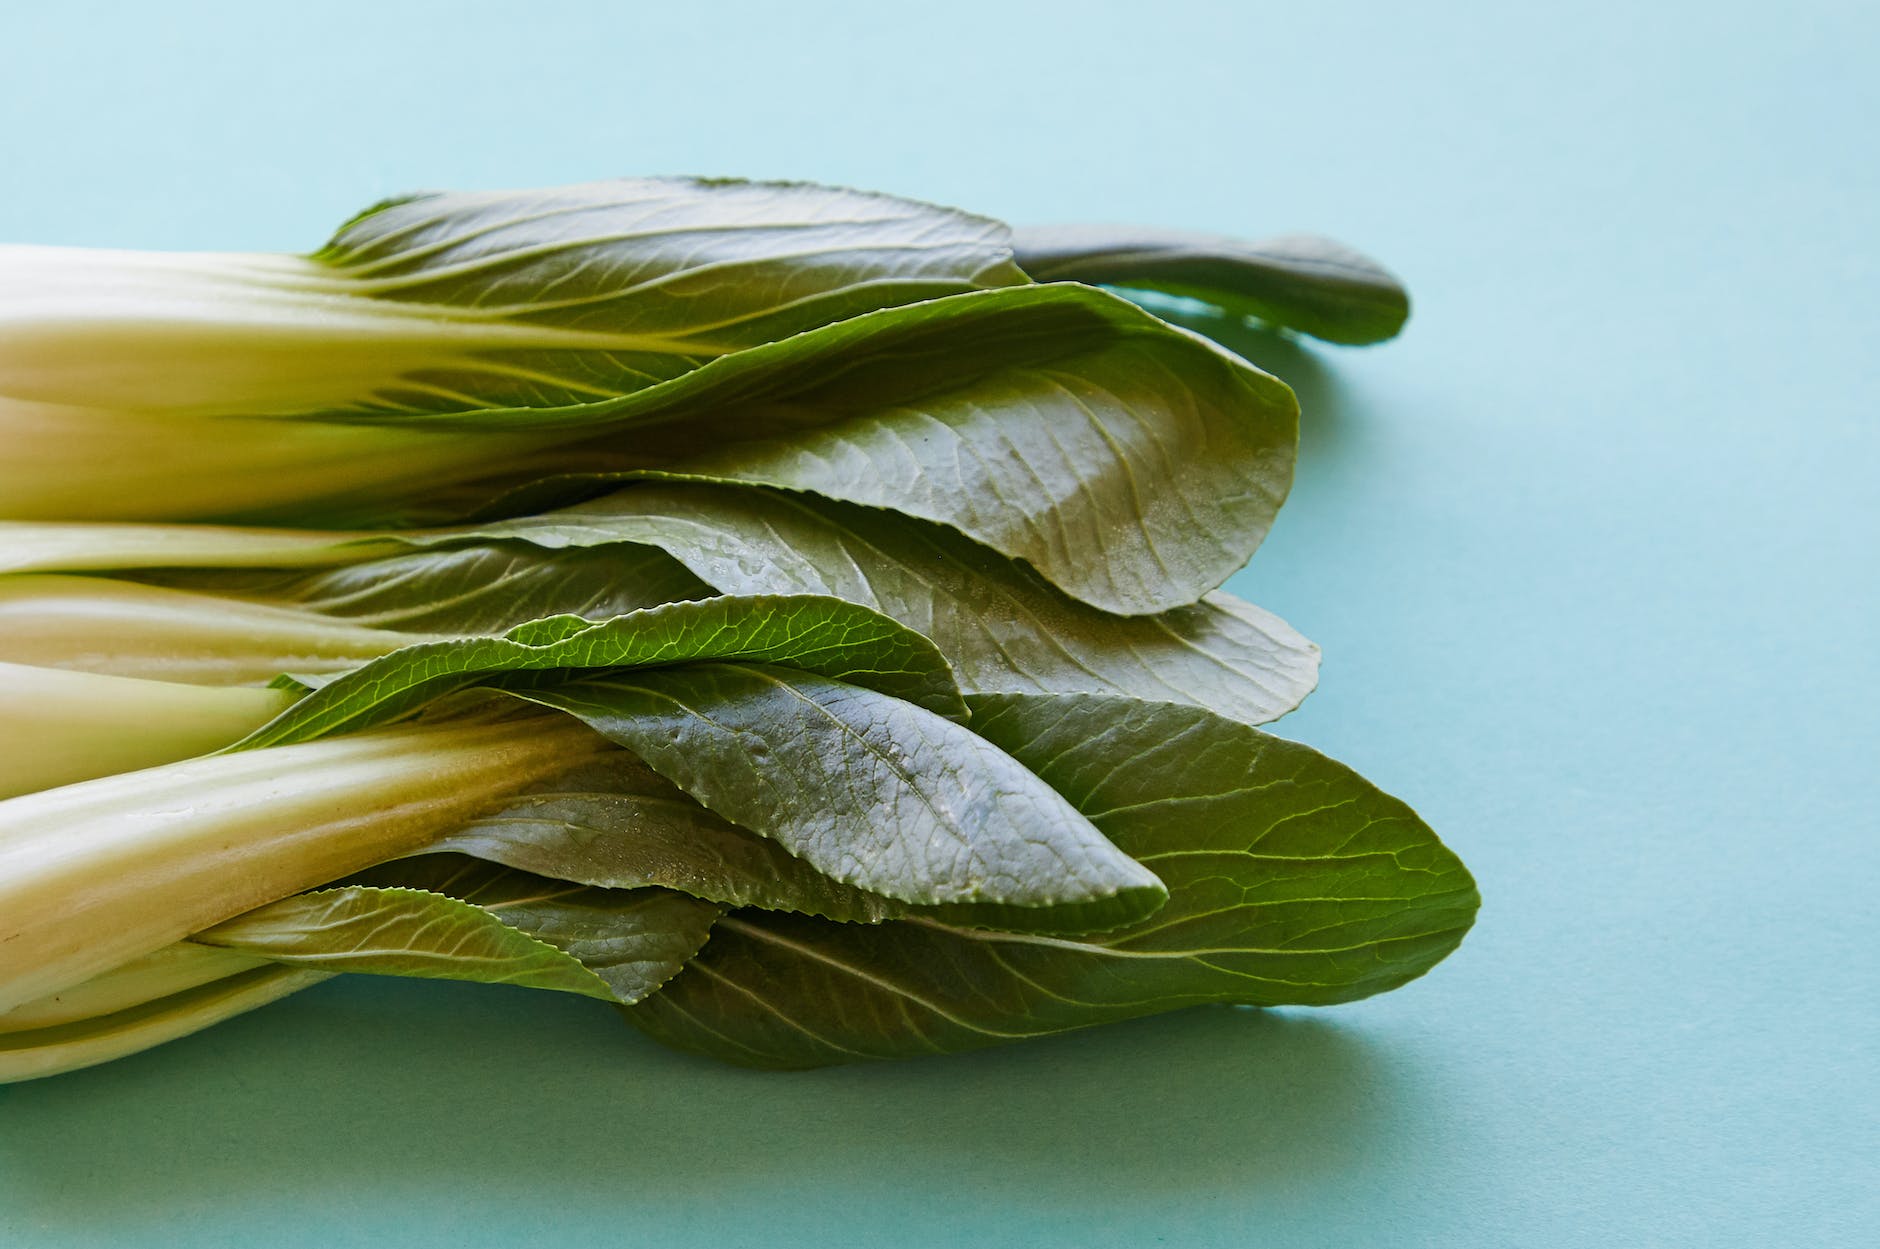
Make Kimchi with baby bok choy, fresh chiles, and delicious apples in a flash. This bok choy kimchi only takes 30 minutes to brine and 15 minutes to construct.
INGREDIENTS
- 1 1/2 pounds bok choy, quartered or half lengthwise
- 6 cups of water
- 1/3 cup coarse Korean sea salt
FILLING FOR KIMCHI
- 1 big sliced onion
- 1 seeded and diced sweet apple
- 5 garlic cloves
- 4 tablespoons Korean anchovy sauce
- 1/4 cup sea kelp stock or water (see below for further information)
- 5 diced fresh finger long chilies
- 1/3 cup gochugaru (Korean chili flakes)
- 1 tablespoon ginger paste
INSTRUCTIONS
- In a large mixing basin, combine clean bok choy.
- Pour the sea salt and water over the bok choy. Allow it to sit for 30 minutes before draining.
- To prepare the kimchi filling, in a blender, purée the onion, apple, and garlic with 1/4 cup of sea kelp stock until smooth. Add the sliced red chilies and pulse until the chilies are broken down into small pieces.
- Fill a bowl halfway with the pureed mixture. Combine the Korean chili flakes, anchovy sauce, and ginger puree in a mixing bowl. Combine thoroughly.
- Toss the bok choy with the seasoning paste and set aside. Be gentle when coating the bok choy with the paste so that it does not bruise.
- Bok choy kimchi should be stored in an airtight container. If you want a fermented flavor, let it at room temperature for one day. Otherwise, store your bok choy kimchi in the fridge at all times. It will continue to ferment but at a slower rate than other Kimchi. This Kimchi should be eaten within three weeks.
NOTES
Cook a piece of dried sea kelp in a cup of water for 4-5 minutes to make sea kelp stock. Remove the kelp and let the stock to cool.
GREEN CABBAGE KIMCHI RECIPE
Green cabbage kimchi is an excellent substitute for conventional cabbage kimchi. The crisp sweetness of normal green cabbage results in an incredibly tasty kimchi.
INGREDIENTS
- 1 huge head of green cabbage (approximately 3.5 lb)
- 4 tbsp coarse Korean sea salt
- 3 garlic cloves
- 1/2-inch ginger slice
- 3 tablespoons Korean anchovy sauce
- 2 tablespoons cooked white rice *See note
- 6 tablespoons water
- 7 tbsp gochugaru (Korean chili flakes)
- 1 tablespoon shrimp sauce
- 1 tablespoon sugar
- 3 chopped green onions 1/2 to 1 cup water
INSTRUCTION
- Cut the cabbage into 1-1/2-inch slices. Make an attempt to separate the cabbage layers. Place them in a large mixing basin after thoroughly rinsing them. Mix in the sea salt and mix well. Allow them to sit for 2 hours, turning once or twice.
- Rinse and thoroughly drain the cabbage. Place aside.
- Combine the garlic, ginger, anchovy sauce, cooked rice, and 6 tablespoons water in a blender. Puree them till completely smooth.
- Combine the Korean chili flakes, shrimp sauce, sugar, and rice puree in a large mixing bowl. Combine thoroughly. Mix in the cabbage and green onion. To mix the seasoning into the cabbage, toss well.
- Put the Kimchi in an airtight container. Pour 1/2 – 1 cup of water into a mixing bowl and swirl it around to gather the spice paste. Return it to the Kimchi.
- Cover the Kimchi with a lid and leave it out on the counter for 1 day before storing it in the refrigerator for 3-4 days for improved fermentation.
*In place of cooked rice, use the same amount of plain mashed potato.
