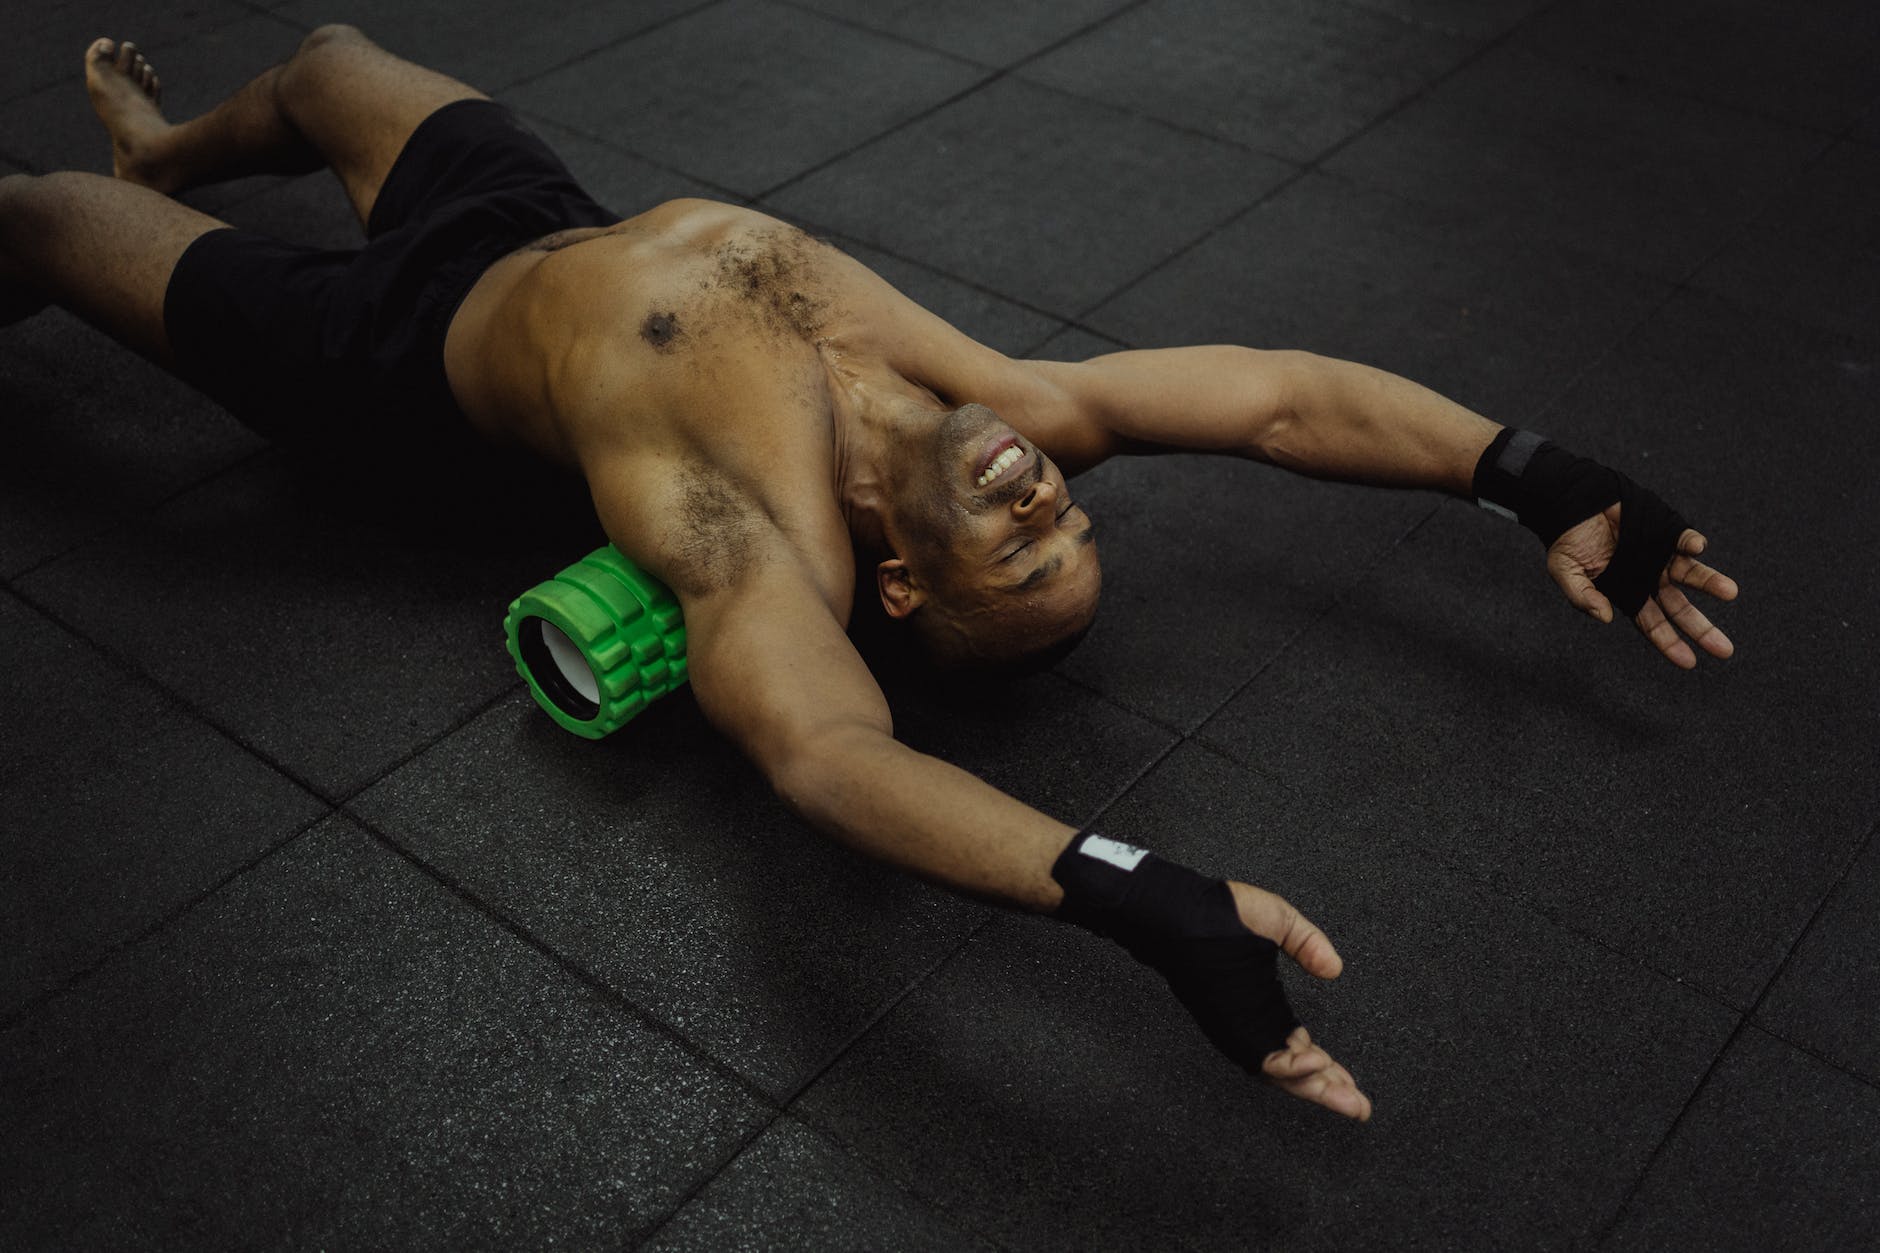
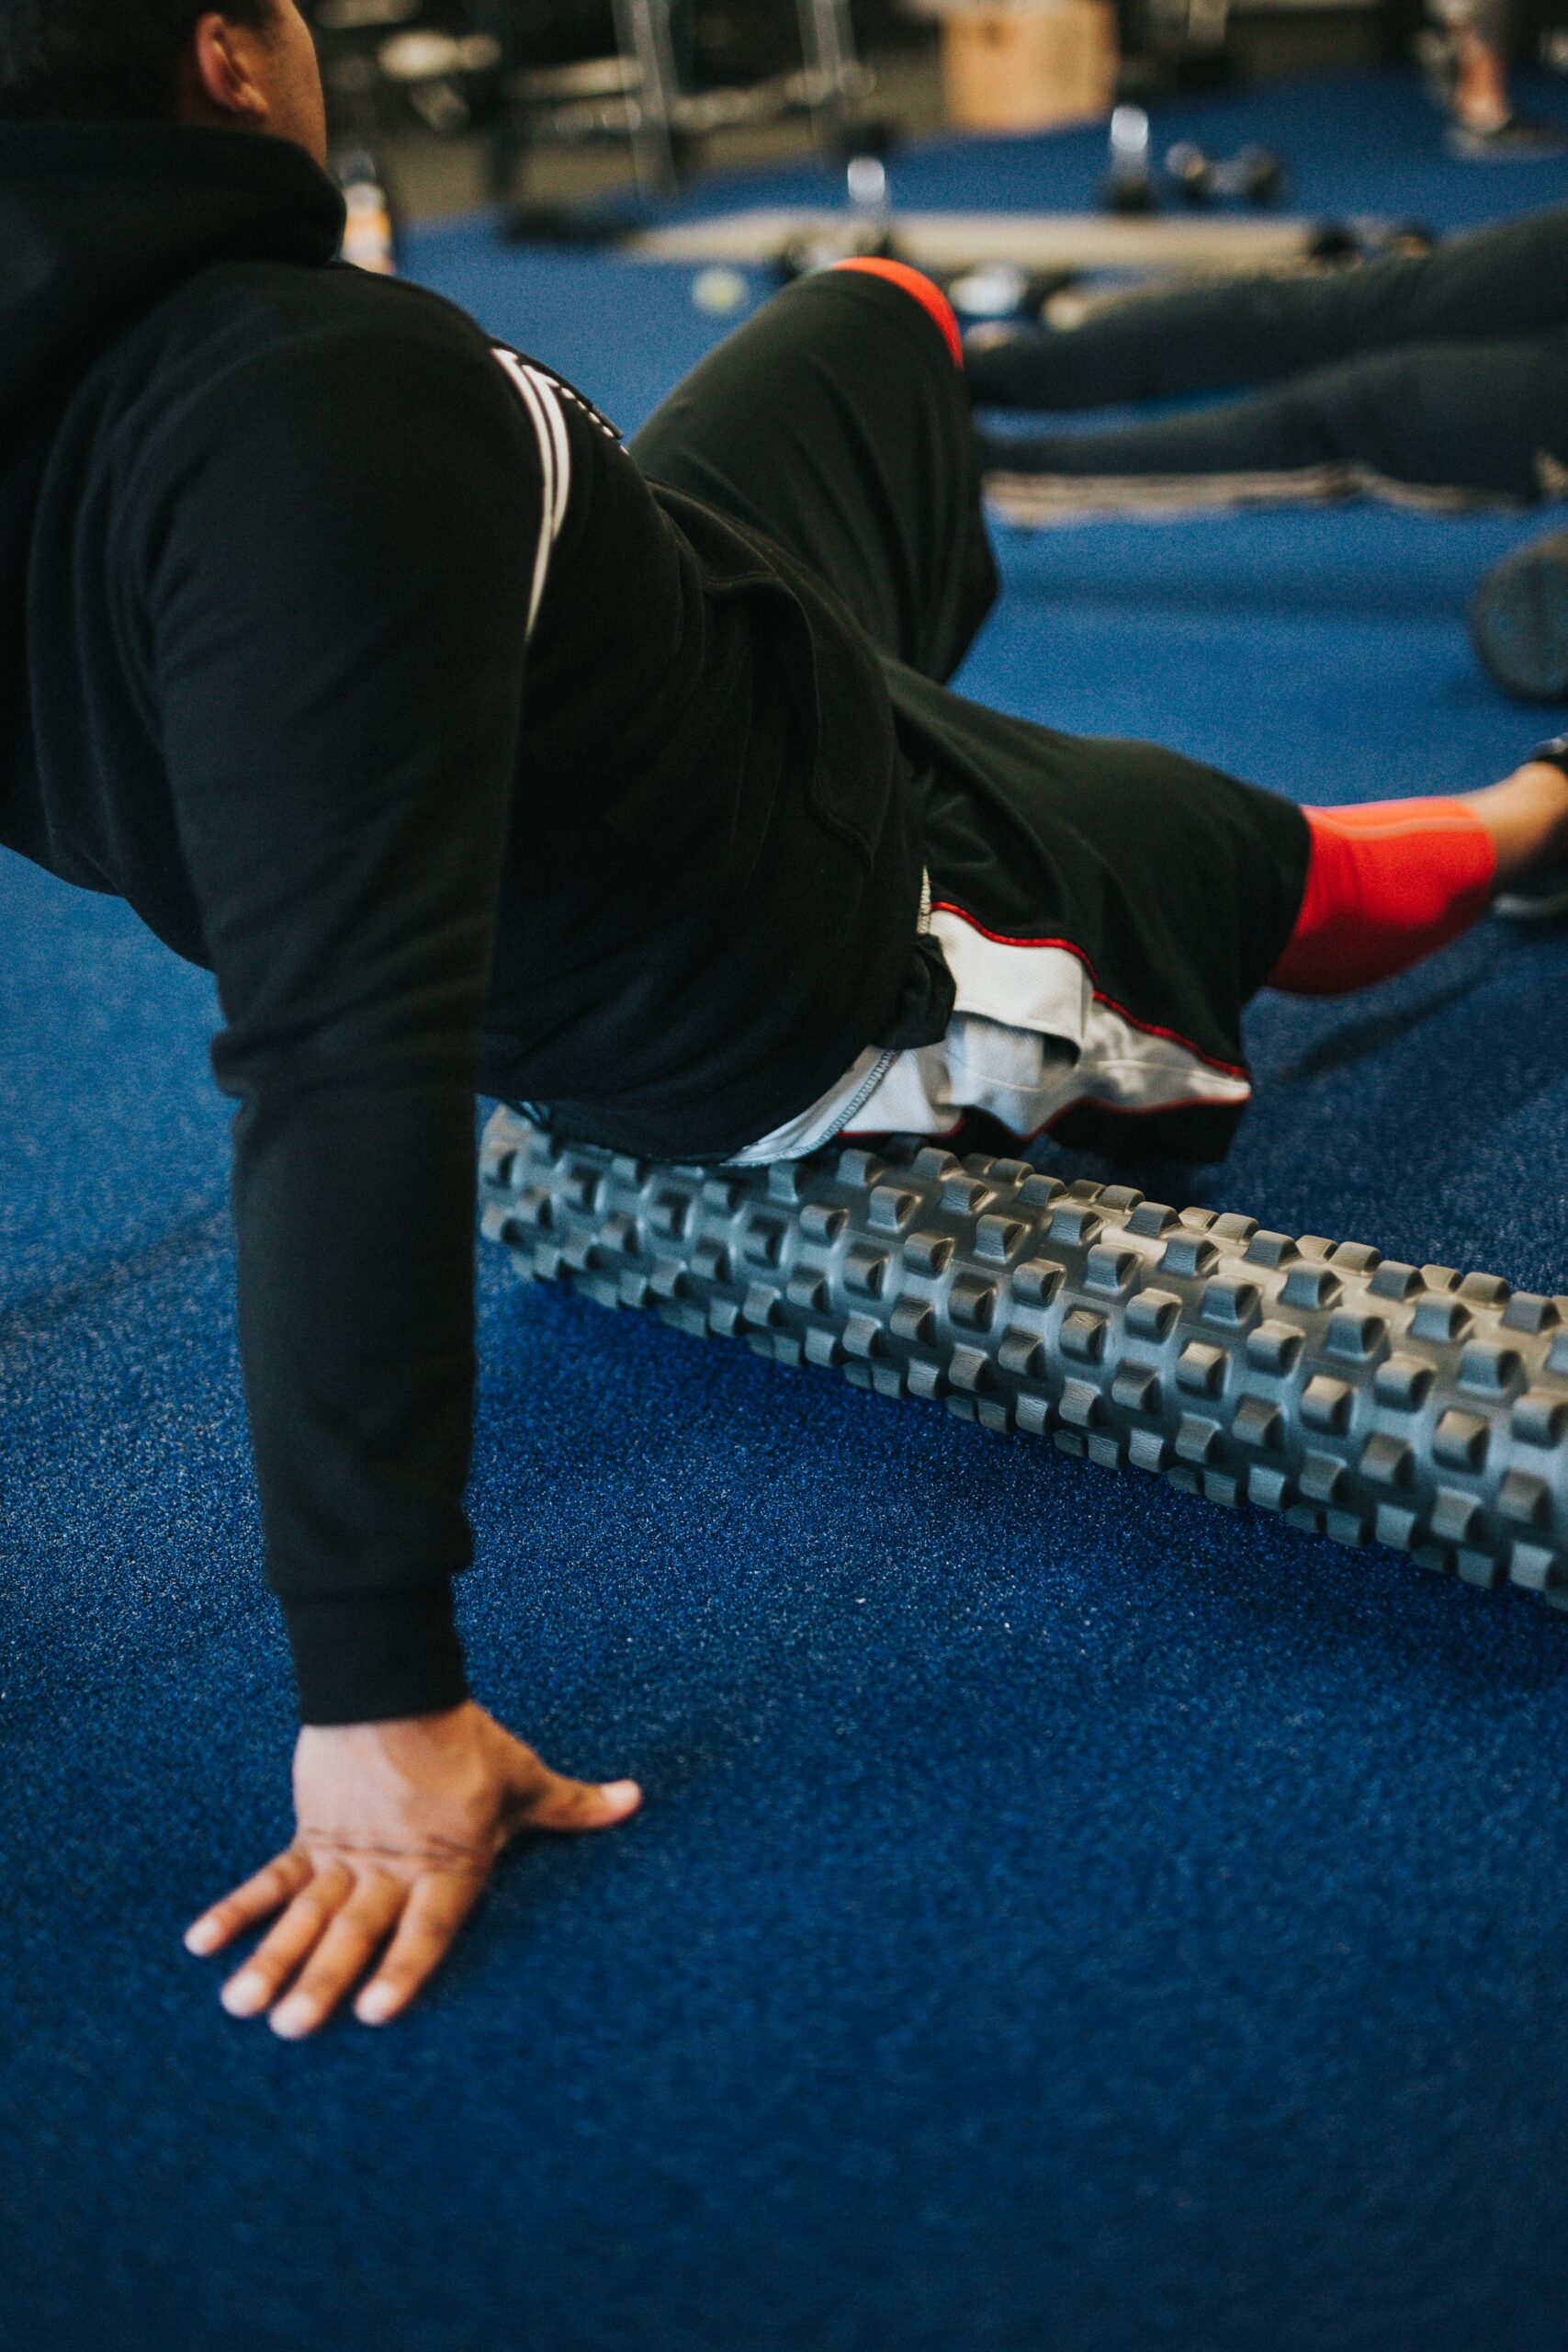
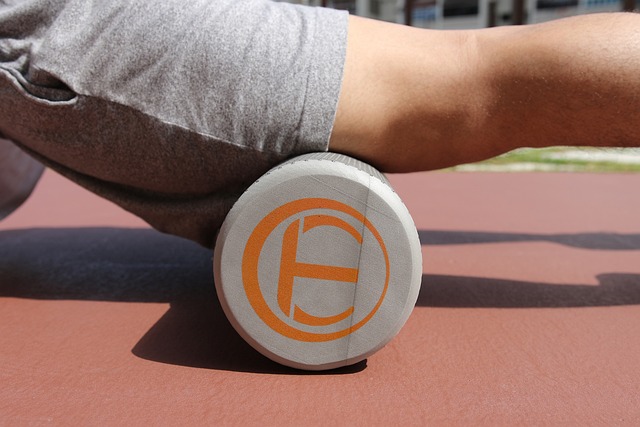
Foam rolling improves your range of motion by relaxing the muscles around your joints. Trainers recommend foam roller exercises before and after workout to wake up the muscles and prevent discomfort.
We listed a handful of exercises you can do with a foam roller for your sore back, shoulders, and more.
Do you wake up with a sore lower back or rub sore shoulders several evenings a week? You’re not alone. According to a study, an estimated 50 million Americans suffer from chronic pain. So you’re not alone. However, it doesn’t make it any less of a pain in the neck.
The good news is there is a tool called “foam-roller,” which can help you alleviate your sore lower back and stiff neck.
What exactly are the advantages of foam rolling?
Foam rolling, also known as “self-myofascial release,” relieves muscle tension by stretching the top layers of your tissues. In most cases, tight, sensitive trigger points develop in the fascia, which sits on top of your muscles. The foam roller aids in the relaxation of those trigger points and soft tissue adhesions.
Combining foam roller exercises with stretches will help to open up the unrestricted tissues, allowing you to move more freely and decrease pain.
Kym Nolden, C.P.T., a NASM-certified fitness specialist, recommends foam rolling to aid with muscular imbalances that cause pain. For example, if your quadriceps are tight, they are probably making more effort than necessary, and your hamstrings—which may help with the load—are probably dozing off. This combination can result in grumpy knees.
Stretching and strengthening exercises with foam rolling exercises will help you achieve pain-free mobility. However, if your discomfort is intense or tingly, lasts more than a week, or begins after a stressful occurrence, consult your doctor.
A doctor can provide advice on more significant muscular or skeletal problems, whereas a physical therapist can assess your mobility to determine the source of the problem you might be having.
If your pain comes and goes, is achy, or improves with exercise, those are signs that you are having issues with tightness in soft tissue. Those issues will restrict your mobility which foam rolling can help.
Which foam roller workouts help with pain relief?
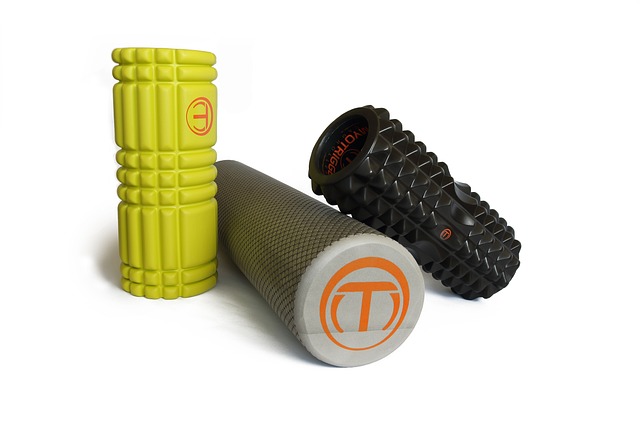
First, you’ll need a foam roller, which can range from soft to dense. Which one to pick depends on how deep you want your massages to be and how sensitive your muscles are to the touch. So, if you’re thinking of purchasing one, seek advice from your physical therapist.
Gurney recommends the MELT Method Soft Roller for something milder form roller exercises and the TriggerPoint Carbon Foam Roller for getting deep into the tissues. TriggerPoint is also backed by Prevention editors, and we named the brand’s Grid Foam Roller a 2021 Fitness Awards winner for its lightweight and durability.
Roll for 30 – 60 seconds on every foam roller exercises below, pausing and allowing the muscle to relax around the roller when you encounter a tight or sore place. Remember that foam rolling should not be painful. If it does, it’s time to slow down or stop. You may also want to execute a stretch that targets the muscle you’re trying to loosen up for more relief. (For additional information, see our recommended flexibility exercises.)
1. Massage of the lateral quadriceps
Excellent for: quad tightness and knee discomfort
How to Go About It:
- Place the foam roller perpendicular to your body on the ground, then place the right side of your thigh on top of it.
- Maintain a straight right leg with your left foot near to flat on the floor. To provide additional support and leverage, place your left hand or forearm on the ground. Next:
- Turn your body slightly towards the floor to target the quad’s outside muscle, then roll back and forth to massage.
- Change to the opposite leg.
2. Massage of the adductor muscles
Excellent for groin tightness and knee pain.
How to Go About It:
- Lie on your stomach on the ground, the foam roller parallel to you. Raise your torso with your hands.
- Maintain a straight right leg behind you and bend it to around 90 degrees.
- Place your right leg on top of the foam roller and lift it up.
- As the foam roller rubs the length of your groin, shift your weight back and forth.
- Repeat on the other side.
3. Hamstring stretch
Excellent for hamstring tightness, knee pain, and back pain.
How to Go About It:
- Sit on the floor with your legs straight out. Take your foam roller and place it between your thighs.
- Put your hands behind your back for support. Place your left foot with your knee bent on the floor.
- Shift your body forward and back as you roll the foam roller from your buttocks to just above your knee. (To avoid aggravating the joint, never foam roll behind the knee.)
- For a deeper massage, cross your left leg over your right leg.
- After you’ve finished loosening up the right leg, focus on the left.

4. Lat slam
Excellent for: shoulder discomfort
How to Go About It:
- Lie on your right side, with the foam roller parallel to your torso and just behind your armpit.
- Allow the foam roller to sink into the muscle by extending your right arm closer to your ear.
- You can roll back and forth, or you can place your left foot on the floor and use the same leg to help you move the roller up and down.
- When you’re done, flip to the other side.
5. Oblique massage
Excellent for: abdominal and back discomfort
How to Go About It:
- Lie on your right side, with the foam roller parallel to and beneath your abdomen.
- Place your right forearm on the floor and straighten your right leg, leaving your left heel flat on the ground.
- Rock back and forth slowly to massage the obliques.
- You can even move up and down to access different parts of the side body.
- Switch to your left side when you’re ready.
6. Triceps smash
Excellent for shoulder and elbow discomfort
How to Go About It:
- Kneel (or lie down with your back to the ground) and place the foam roller horizontally in front of you.
- Place the roller on the back of your right upper arm and let it sink into the muscle.
- Maintain this position, then flex and extend your elbow as you work into the tricep.
- When the muscle feels relaxed, move the foam roller to another part of the tricep. When you’re finished, switch to the opposing arm.
7. Rhomboid massage and chest opener
Upper back pain, pec/chest tightness, and shoulder pain are all alleviated.
How to Go About It:
- Place the foam roller vertically on the floor and rest your head, back, and buttocks on it to ensure complete support.
- Kneel and plant both feet into the ground. Cactus your arms so that your hands are at your ears and your elbows are 90 degrees bent.
- Bring your arms as near to the floor as possible. Hold for two seconds before bringing your arms together. Repeat until your desired massage time is reached.
8. Upper back extension
Excellent for upper back discomfort and shoulder strain.
How to Go About It:
- Lie on your back. Place your feet on the floor with your knees bent.
- Sit up and place your foam roller below and parallel to your upper back.
- Hug yourself before rolling your back over the foam roller.
- Return to your feet. (Do not roll the foam roller!)
- Repeat until your back relaxes. Pick up the foam roller and roll it up and down your upper back.
- Rep the process till you’ve covered the entire area.
9. Calf rollout
Excellent for pain in the Achilles, heel, foot, and knee.
How to Go About It:
- Sit on the floor and have your legs straight out in front.
- To apply pressure, place the foam roller beneath your right calf and cross your left leg over your right.
- Put your hands behind your back for leverage, then start shifting your weight back and forth to massage the calf.
- Place your left foot on the floor if you require less pressure. Switch to the opposite leg when you’re finished.
10. Calf massage while kneeling
Excellent for pain in the Achilles, heel, foot, and knee.
How to Go About It:
- Begin by kneeling with your buttocks on your heels. Sit up a little, take your foam roller, and roll it between your thighs and calves.
- Allow the roller to sink into your calves as you sit.
- You can shift your hips from left to right, or you can sit until your muscles release.
- If the pressure is too great for you, choose the standard calf rollout option.
11. Shin mobilization on the lateral side
Excellent for: shin splints
How to do it:
- Place the foam roller horizontally in front of you. Then, over the roller, assume a plank position.
- Raise your right knee so that the outside of your shin rests on top of the roller.
- Shift your body up and down to massage the length of your shin using the roller.
Make careful you do the same on the other side.
12. Foot
Excellent for: foot pain
How to Go About It:
- You can do this while standing or kneeling.
- Place the foam roller on the floor horizontally to you. Step your left foot onto a foam roller.
- Allow your foot to bend around the roller as you move it back and forth slowly.
After 30-60 seconds, move to your right foot.
To Conclude
The remedy to your sore back, shoulders, and hamstring may be as simple as a cheap instrument and a few minutes away.
Foam rollers, the long, tube-looking black or blue pieces of foam you’ve probably seen at the gym, have long been used by physical therapists to relieve tension and, as a result, eliminate aches.


