What is the best way to store freeze-dried foods?
To keep freeze-dried goods fresh, consider utilizing vacuum-sealed packaging, Mylar bags, or airtight containers. Inspect and rotate your stored items on a regular basis to guarantee that the oldest products are used first and that you have a plentiful supply of delicious and nutritious freeze-dried goodies.
For freeze dried goods in my working pantry, upcycled spice or mason jars are an excellent storage solution. This is for goods that you use frequently, such as freeze-dried diced garlic or powdered onion.
Fresh freeze-dried food can be stored for a long time with an airtight seal in a mylar bag or mason jar, or vacuum storage bag. For the best outcomes, examine the food for evidence of physical change or excess oxygen.
Foods that will be kept for 1-2 years should be stored in sealed mason jars. Use a jar sealer to remove air from jars and seal them as if they had been canned.

Note: When storing food that I don’t intend to eat for a long time or preparing for a potential emergency food scarcity, I prefer to use mylar bags with oxygen absorbers. Harvest Right sells mylar bags, impulse sealers, and oxygen absorbers. I’ve also used Wallaby and had good results.
AN EXAMPLE: HOW TO STORE FREEZE-DRIED EGGS
The freeze-dried eggs can be crushed to a powder and stored in mason jars. Just add water to produce scrambled eggs!
ARE THERE ANY FOODS THAT SHOULDN’T BE FREEZE DRIED?
While freeze-drying is a diverse food preservation technology, some foods may not be appropriate for the procedure due to composition, texture, or other considerations. The following foods are generally not recommended for freeze-drying:
1. High-Fat Foods: Foods high in fat, such as fatty meats or oily seafood, may not freeze dry properly. The fats may develop rancid throughout the process, impacting the end product’s quality and taste.
2. Creamy dairy products with high-fat content, such as heavy cream, full-fat yogurt, or creamy custards, may not produce good results.
3. Entire Eggs: It is not suggested to freeze dry entire eggs. The best approach to freeze dry eggs is to crack them into a basin and mix the yolks and whites together. Then place them in the trays and pre-freeze before freeze drying. My midsize Harvest Right, with four trays, can freeze dry 72 eggs in around 36 hours.
4. Alcoholic: Foods containing alcohol, such as sauces or alcoholic beverages, may not freeze dry effectively because alcohol can interfere with the freeze-drying process and produce unwanted odors.
Here are the wildest foods we’ve freeze-dried (and whether or not we liked them!)
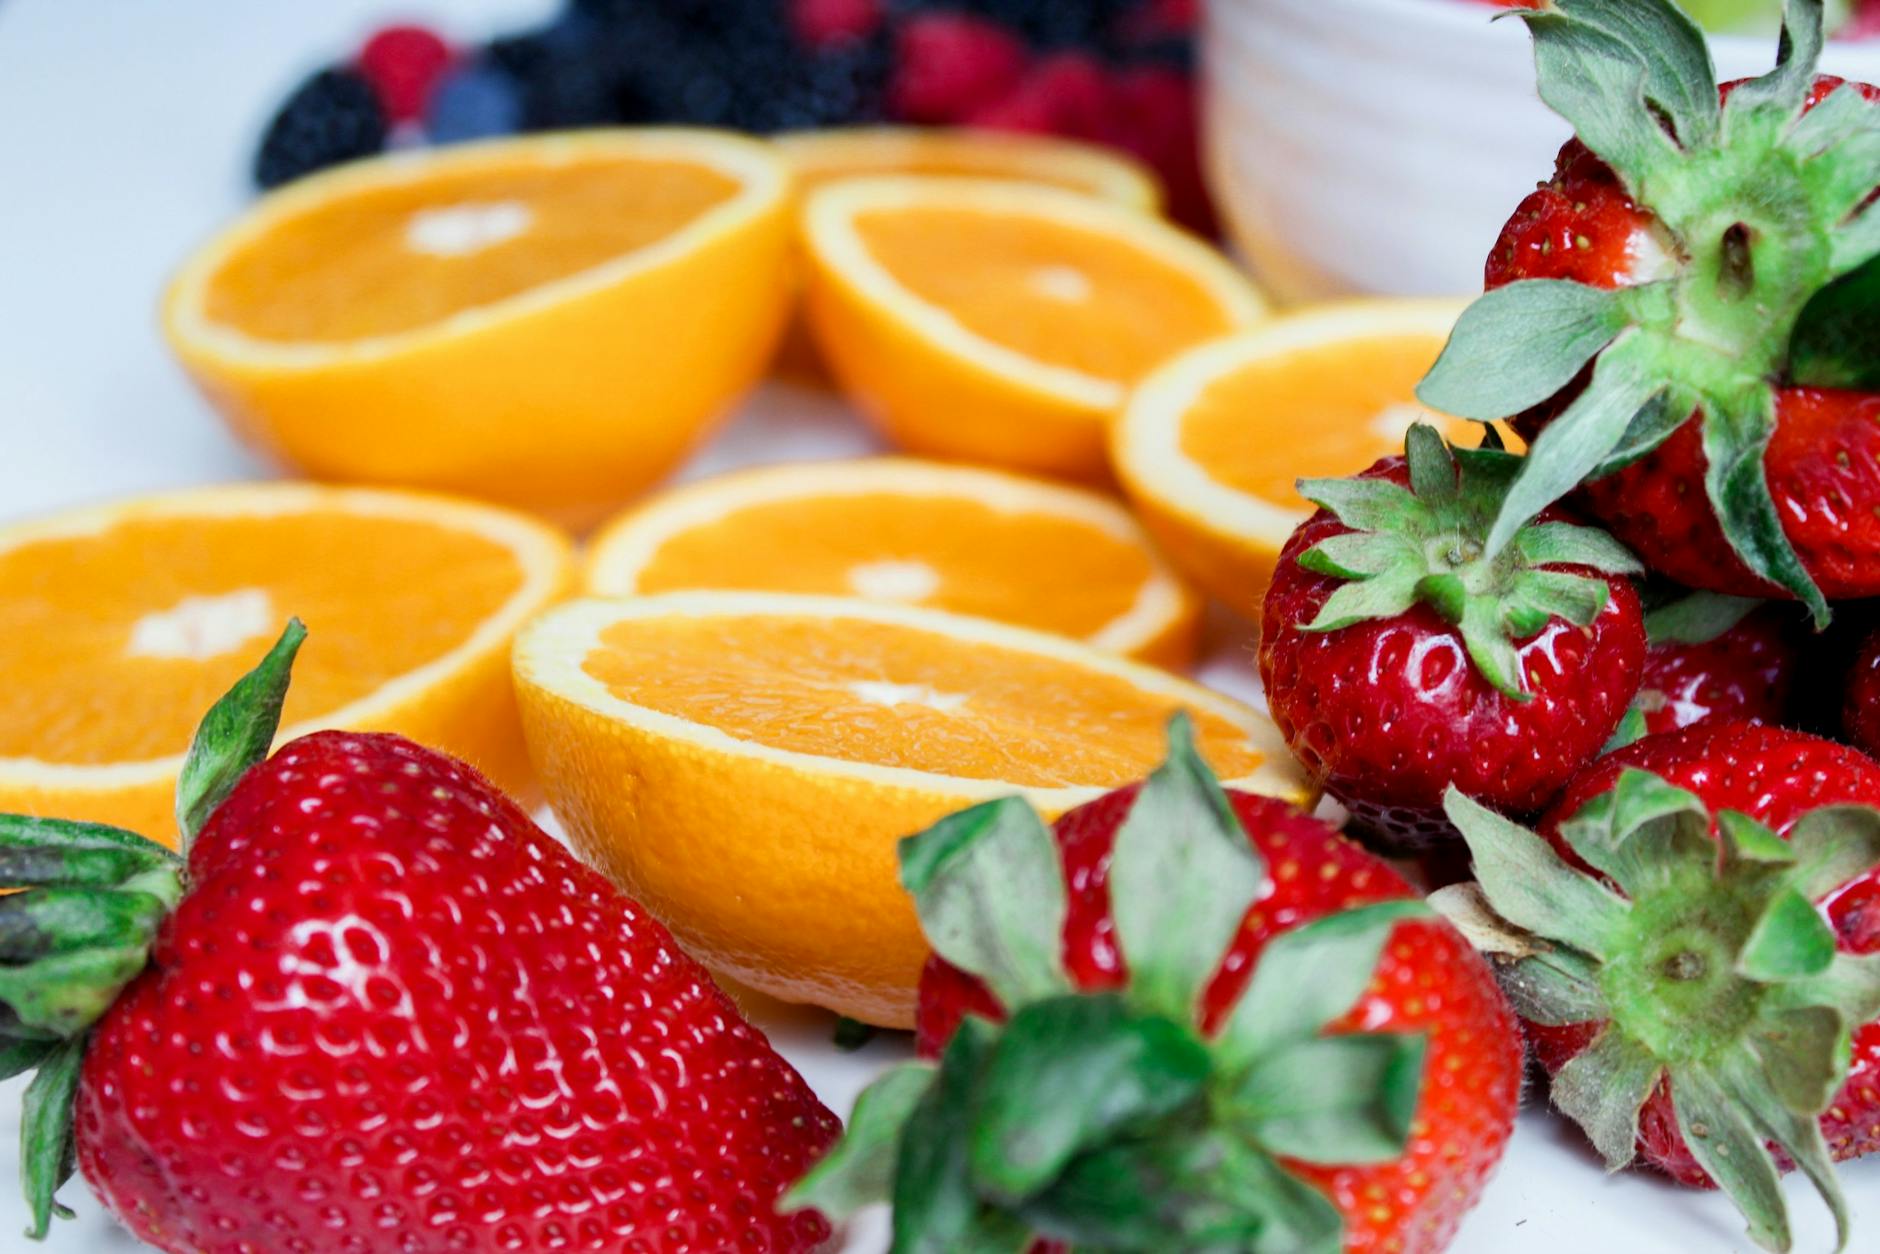
Fruits such as strawberries, pineapple, and raspberries are ideal for freeze-drying. The fruits become light and airy and practically melt in your mouth.
Avocados are one of the most unexpectedly weird items that I freeze dry. Cut them into ¼ inch slices and arrange in a single layer on pans.
When the avocados were finished, they looked exactly like they did before, but the texture was insane! Biting into a freeze-dried avocado was similar to biting into a cashew. It was hollow but had some bite. I used them as salad toppers and even rehydrated some to make a homemade freeze-dried mango and avocado salad.
For storage, place them in mylar bags with oxygen absorbers.
How to Use a Freeze Dryer
1. Gather your supplies.
Make sure you have all of the essential equipment and ingredients on hand, including a Harvest Right* freeze dryer, foods you want to freeze dry, mylar or vacuum-sealed bags or containers, oxygen absorbers (optional), and any other tools needed for food preparation.
2. Prepare the Food.
Wash, peel, and slice the foods as needed. Blanching certain fruits and vegetables before freezing might help retain their color and texture.
Prepare and cook meals according to the recipe. Avoid overseasoning because flavors might intensify during freeze drying.
Meat and eggs can be freeze-dried raw and then cooked after rehydrating.

3. Load the freeze dryer trays.
Arrange the prepared foods equally on the trays, leaving enough space between them for adequate air circulation throughout the freeze-drying process. If possible, freeze your items on trays overnight in a deep freezer.
4. Set the Freeze Dryer Parameters.
Consult your freeze dryer’s user manual for particular temperature and time parameters. Generally, you should begin with a low temperature and progressively increase it as the procedure goes on.
5: Start freezing.
Begin the freeze-drying cycle. The freeze dryer will progressively reduce the temperature to freeze the food products. This stage helps to maintain the food’s structure and prevents ice crystals from developing.
6: Begin vacuum and sublimation.
After freezing, the vacuum pump will activate to create a low-pressure environment inside the freeze dryer.
7: Monitor the process.
Keep an eye on the freeze-drying procedure. Depending on the type and quantity of food, the time can range from hours to days.
8: Check for dryness
Break a sample piece of food in half to see if it has been thoroughly freeze-dried. The material should be dry and brittle, with no visible moisture.
To Conclude
So there you have it! From nutrient preservation to a prolonged shelf life that would make any pantry proud, freeze-drying has truly earned its reputation as a very useful way of food preservation.
The finest thing, however, is that it is not limited to professionals. You can begin freeze-drying right in your own kitchen. The procedure may appear to be somewhat scientific, but it is not. Once you get the hang of it, you’ll wonder how you ever survived without freeze-drying.
Remember that freeze drying is a learning experience that involves some trial and error, as well as a lot of taste. So go ahead and try it; don’t be surprised if you end up freeze drying everything you can get your hands on.
